Want to use the Magic Mouse zoom feature on your Mac? This guide will walk you through the essentials of using zoom gestures and settings on your Mac. Learn how to configure one-finger tap gestures, Smart Zoom, and more to enhance your navigation.
Key Takeaways
- The Apple Magic Mouse offers intuitive zooming features such as the one-finger tap gesture and Smart Zoom, which can be configured through System Preferences to enhance your zooming experience.
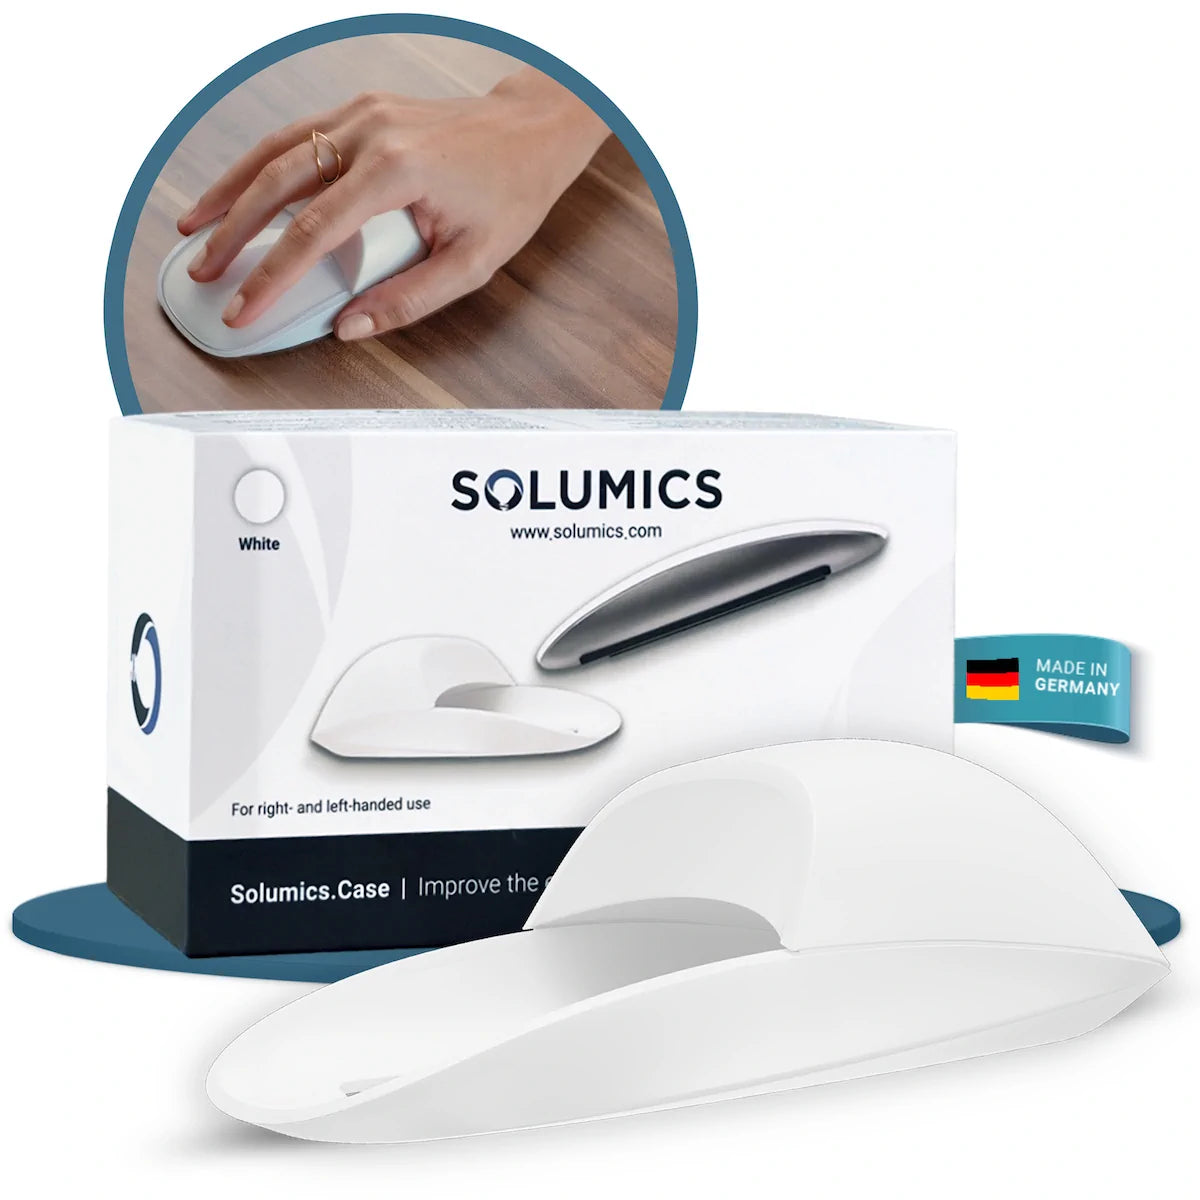
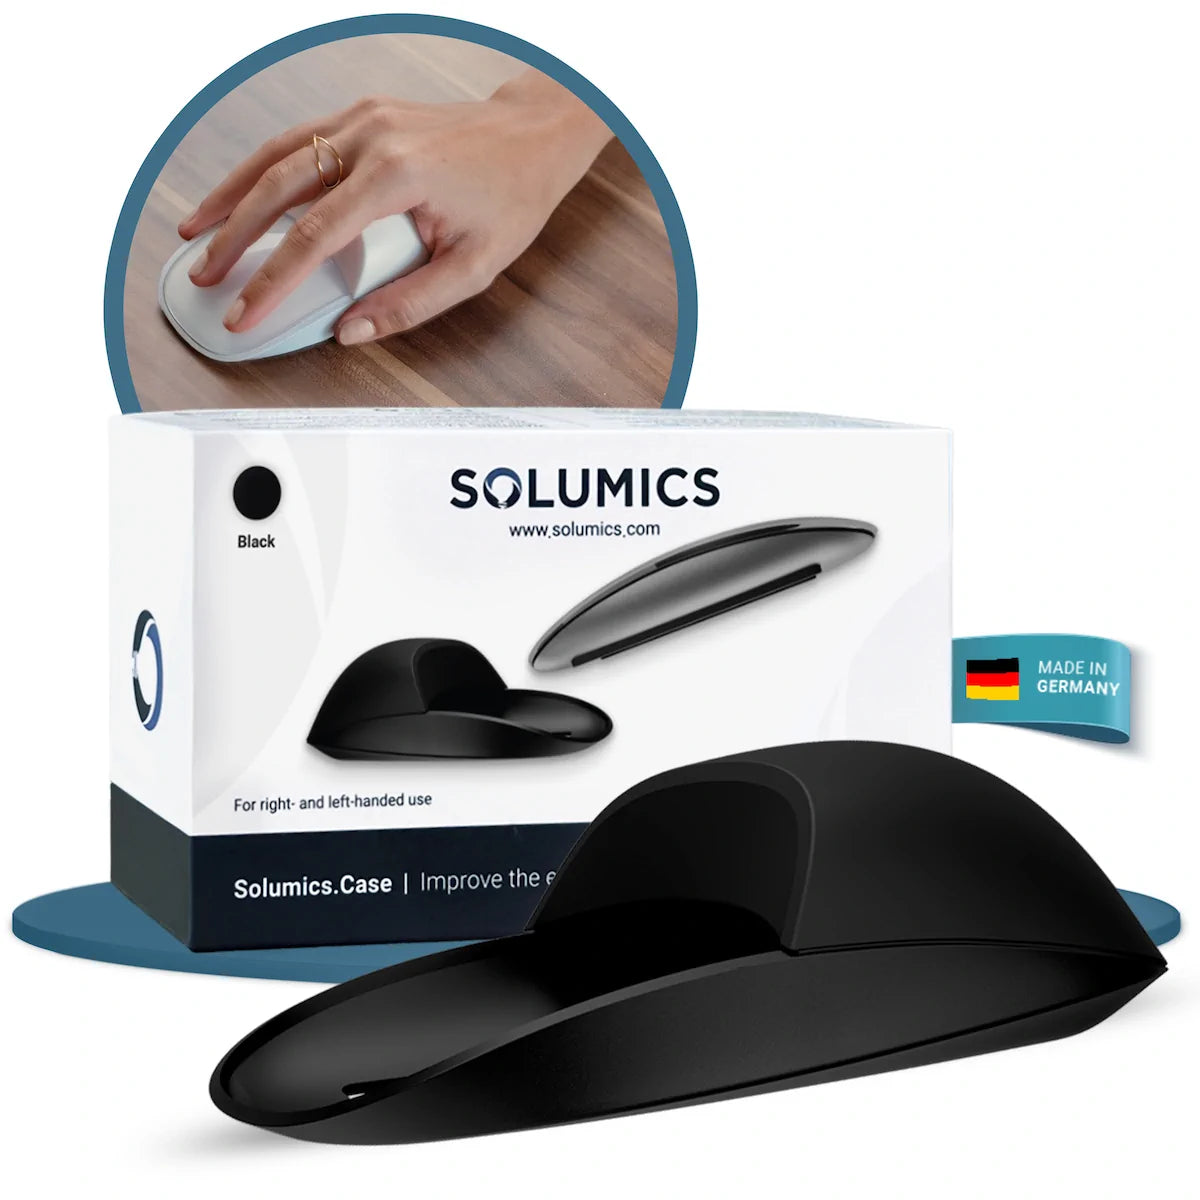
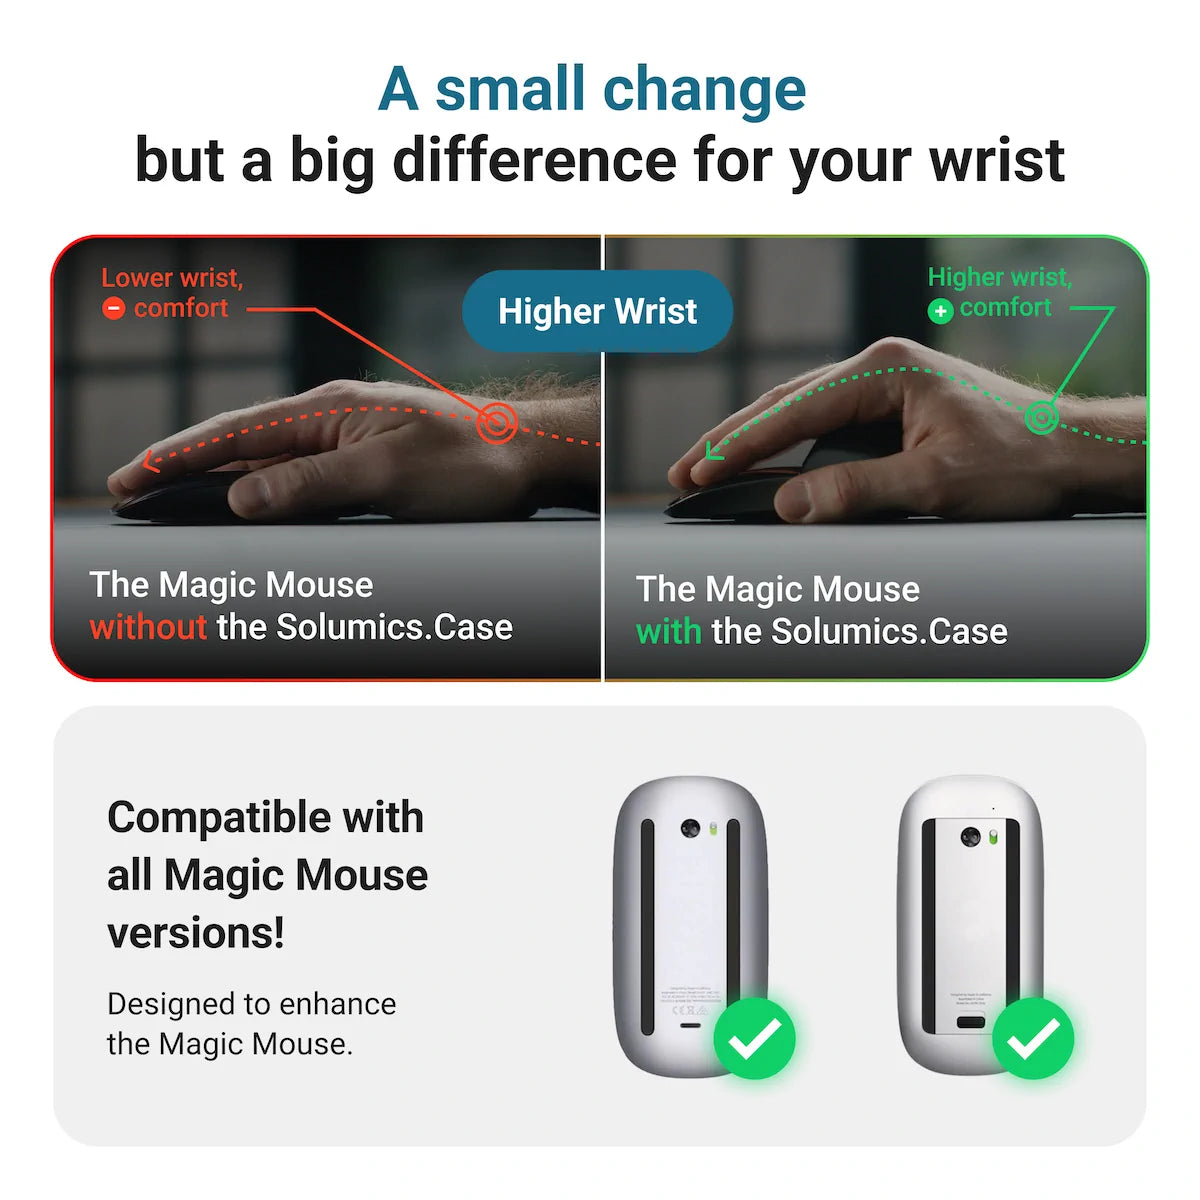
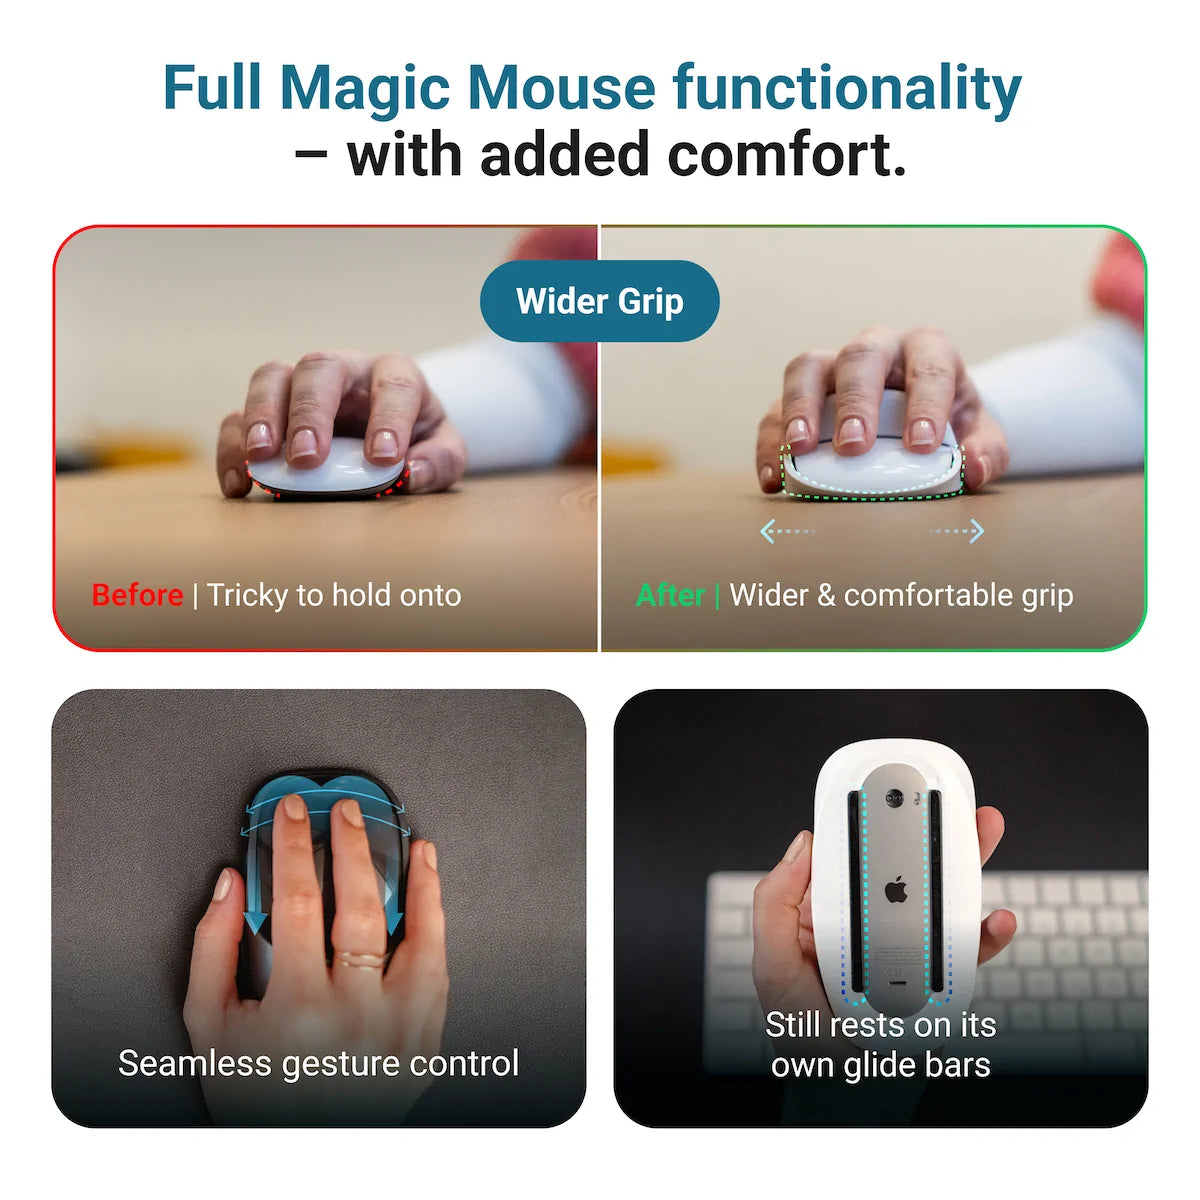
- The Solumics Case enhances the ergonomics of the Apple Magic Mouse by improving the grip and wrist position, providing comfort for extended use and potentially increasing productivity.
- Mac provides robust accessibility features for zooming, including customizable zoom styles and keyboard shortcuts, offering tailored options to improve user experience for those with visual needs.
Using the Apple Magic Mouse for Zooming

The Apple Magic Mouse is a versatile tool that offers intuitive zooming capabilities, making it an essential accessory for Mac users who frequently need to adjust their view. Its smooth surface and gesture recognition technology allow for seamless zooming experiences across various applications and interfaces.
Understanding and configuring the available gestures and settings is key to unlocking the full potential of your Magic Mouse for zooming. The two primary zooming features we’ll explore are the one-finger tap gesture and Smart Zoom. These functionalities can be easily set up through the System Preferences, enabling you to customize your zooming experience to suit your needs.
One Finger Tap Gesture
The one-finger tap gesture is a simple yet powerful way to zoom in and out using your Apple Magic Mouse. This gesture involves double-tapping with a single finger on the mouse surface to toggle between zoomed and normal views. It’s particularly useful when you need to quickly focus on a specific area of your screen without changing your hand position or reaching for keyboard shortcuts.
To perform this gesture, simply double-tap anywhere on the Magic Mouse’s surface with one finger. The first double-tap will zoom in on the area under your cursor, while a second double-tap will zoom back out to the normal view. This intuitive gesture allows for rapid zooming, making it ideal for tasks that require frequent switches between detailed and overview perspectives.
Configuring Smart Zoom
Smart Zoom is an intelligent feature that enhances the zooming capabilities of your Apple Magic Mouse. To enable this feature, navigate to the ‘Mouse’ section in System Preferences and check the ‘Smart zoom’ option. Once activated, Smart Zoom allows you to quickly zoom in on specific content with a simple gesture, providing a more targeted and efficient zooming experience.
Having enabled Smart Zoom, a specific area of the screen can be zoomed into by double-tapping with one finger on the Magic Mouse. This is particularly useful when working with web pages or PDF documents, as it allows you to focus on relevant content without zooming in on the entire screen. A simple double-tap will zoom back out.
The Smart Zoom feature adjusts the zoom level based on the content you’re viewing, proving to be a beneficial tool for quickly accessing detailed information while maintaining context.
Enhancing Comfort with the Solumics Case

While the Apple Magic Mouse is a marvel of design and functionality, extended use can sometimes lead to discomfort, especially for those who find the original design too flat. This is where the Solumics Case comes into play, offering an innovative solution to enhance your ergonomics and overall user experience.
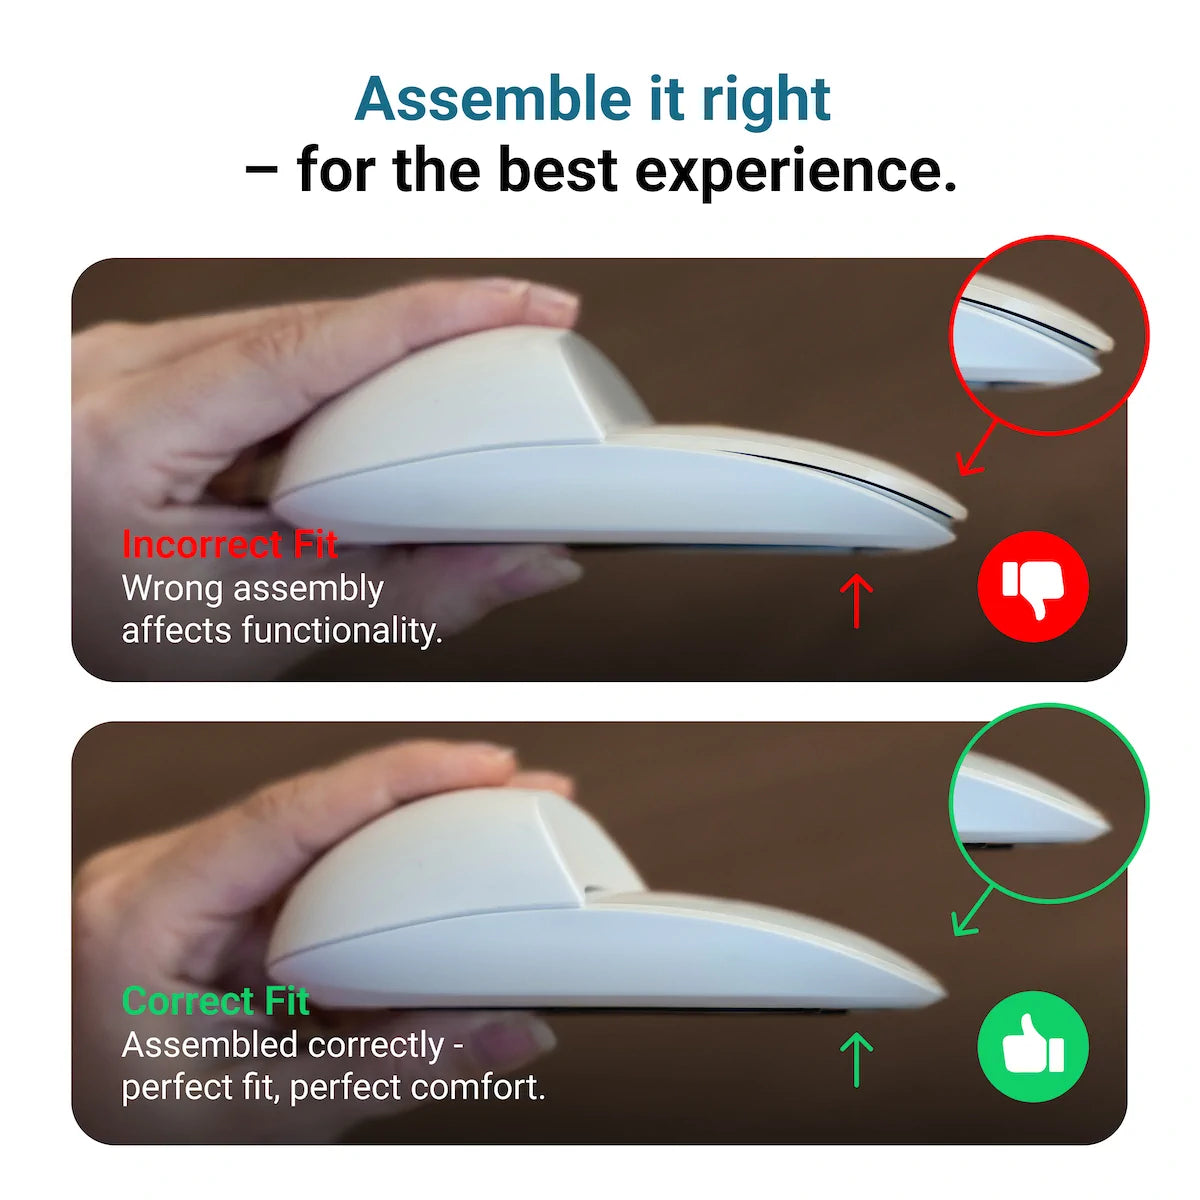
The Solumics Case has been designed explicitly to enhance the grip and wrist position of Apple Magic Mouse users. It features integrated side extensions that provide a wider and more comfortable grip, addressing the common complaint of the Magic Mouse being too flat for some users. Additionally, the case elevates the wrist by adding height to the back of the Magic Mouse, promoting a more natural and comfortable palm position during extended use.
One of the standout features of the Solumics Case is its universal compatibility with all versions of the Apple Magic Mouse. Installation is a breeze, with the case attaching and removing in less than 3 seconds, ensuring that you can quickly enhance your mouse’s ergonomics without any hassle. The Solumics Case, by enhancing comfort and minimizing hand fatigue, enables you to concentrate on your work or creativity without the nuisance of discomfort, potentially boosting your productivity and pleasure when using your Mac.
Accessibility Features for Zooming

Mac’s commitment to accessibility shines through in its robust zooming features, designed to cater to users with various visual needs on Mac OS. These accessibility options go beyond basic zooming, offering a range of customizable settings to enhance the user experience.
Enabling Zoom in System Preferences
Enabling the Zoom feature on your Mac is a straightforward process that begins in the System Settings. To get started, follow these steps:
- Click on the Apple menu in the top-left corner of your screen.

2. Select System Settings.

- Navigate to the Accessibility section.

4. Click on Zoom

- This will open up a world of zooming options that you can customize to suit your needs.
Customizing Zoom Options

The Accessibility settings in macOS offer a wealth of customization options for the Zoom feature, allowing you to tailor the zooming experience to your specific needs and preferences. These settings give you fine-grained control over how zoomed content appears on your screen, ensuring that you can achieve the perfect balance of magnification and usability.
One of the key customization options is the ability to choose from different zoom styles. You can select from the following options:
- Whole Screen zoom, which magnifies the entire display
- Split Screen zoom, which creates a magnified section alongside the standard view
- Picture-in-Picture zoom, which shows the zoomed area in a separate, movable window
Each of these styles has its own set of advanced options that you can adjust, but remember, blindly changing settings is not the answer to achieving the best results.
For example, you might want to customize the appearance of the zoom area, adjust the magnification level, or set up keyboard shortcuts for quick zooming. By exploring these options, you can create a zooming setup that perfectly complements your workflow and visual needs.
Zooming with Keyboard Shortcuts

Keyboard shortcuts provide a swift and efficient way to control zooming on your Mac, offering a hands-on-keyboard alternative to mouse or trackpad gestures. These shortcuts are particularly useful for users who prefer to keep their hands on the keyboard or for situations where precise zoom control is needed.
To activate keyboard shortcuts for zooming, follow these steps:
- Navigate to the Apple menu.
- Choose System Settings.
- Select Accessibility.
- Click on Zoom.
- Confirm that the “Use keyboard shortcuts to zoom” option is checked.
Once enabled, you can use a variety of keyboard combinations to control zoom functions.
- To zoom in, simply press Option-Command-Equal Sign (=)
- To zoom out, use Option-Command-Minus Sign (-)
These shortcuts allow for incremental zooming, giving you fine control over the magnification level.
- For quick toggling between zoomed and normal views, you can use the Option-Command-8 shortcut or the control button.
This rapid switching can be particularly useful when you need to frequently alternate between detailed and overview perspectives of your work.
Modifier Key Combinations

Modifier keys play a crucial role in enhancing the zooming capabilities of your Apple Magic Mouse. By combining these keys with the scroll gesture, you can achieve smooth and controlled zooming without the need to switch between different input devices. This feature can be particularly useful when you need to maintain your workflow while adjusting your view.
When ‘Use scroll gesture with modifier keys to zoom’ option is enabled, this feature allows you to use your trackpad or mouse to zoom in and out by holding down a modifier key (such as the Control key) while scrolling. This provides a quick and intuitive way to zoom on demand, giving you more control over your viewing experience across different applications and scenarios.
For setting up modifier key combinations for zooming, it’s necessary to visit the Zoom settings in your Mac’s System Preferences. Here, you can choose which modifier key you’d like to use in conjunction with the scroll gesture. The options typically include Control, Option, or Command. For example, if you select the Control key, you would hold down the Control key on your keyboard while scrolling with your Magic Mouse to zoom in or out. Such customization lets you choose the key combination that best suits your personal use, thereby integrating zooming seamlessly into your Mac experience.
Zoom Sliders in Apps

Many Mac applications come equipped with built-in zoom sliders, offering a more granular approach to adjusting your view. These sliders are particularly useful in apps where precise zoom control is essential, such as photo editing software, document viewers, or web browsers. The zoom slider typically appears as a bar with a draggable handle, allowing you to smoothly increase or decrease magnification by sliding the handle left or right.
In the Finder, for instance, you can access a zoom slider through the View Options dialog. This slider doesn’t just zoom in and out; it adjusts the size of icons in the current view, effectively allowing you to see more or fewer items at once. Similarly, in the Photos app, you’ll find a zoom slider that lets you adjust the size of thumbnails in your photo library. These in-app zoom sliders provide a visual and intuitive way to control your view, complementing the keyboard shortcuts and gestures we’ve discussed earlier.
By familiarizing yourself with these sliders in your most-used apps, you can further refine your zooming techniques and enhance your overall productivity on your Mac.
Trackpad Gestures for Zooming

While the Magic Mouse offers excellent zooming capabilities, the Apple trackpad on your MacBook or Magic Trackpad provides an equally intuitive and perhaps even more versatile zooming experience. Trackpad gestures for zooming are designed to feel natural and responsive, allowing for smooth and precise control over your view.
Two Fingers Pinch Gesture

The two-finger pinch gesture is a cornerstone of trackpad zooming on Mac, offering a fluid and intuitive way to adjust your view. This gesture involves placing two fingers on the trackpad and either spreading them apart to zoom in or bringing them together to zoom out. The beauty of this gesture lies in its simplicity and precision – you can make minute adjustments or dramatic changes to your zoom level with a single, smooth motion.
To master the two-finger pinch gesture, start by placing your thumb and index finger (or any two fingers) lightly on the trackpad. To zoom in, slowly spread your fingers apart (spreading) as if you’re stretching an elastic band. The further you spread your fingers, the more you’ll zoom in. To zoom out, simply reverse the motion, bringing your fingers back together (pinching). With practice, you’ll find that this gesture becomes second nature, allowing you to seamlessly zoom in on details in images, web pages, or documents, and then zoom back out to get an overview – all without lifting your hands from the trackpad.
Double Tap for Smart Zoom

In addition to the pinch gesture, Mac trackpads offer another convenient zooming feature called Smart Zoom. This feature is activated by a simple double-tap gesture using two fingers. To enable Smart Zoom, go to your Trackpad settings in System Preferences and check the Smart Zoom option. Once enabled, this feature provides a quick and efficient way to zoom in on specific content with minimal effort.
To use Smart Zoom, simply double-tap the trackpad with two fingers. This action will intelligently zoom in on the content you’re viewing, such as a specific paragraph on a webpage or a particular section of a PDF document. To zoom back out to the original view, simply perform the same double-tap gesture again. This feature is particularly useful when you’re quickly scanning through content and need to focus on specific areas without manually adjusting your zoom level each time.
Smart Zoom’s capability to adjust the zoom level based on the content automatically makes it an invaluable tool for enriching your browsing and reading experience on your Mac.
Summary
Throughout this comprehensive guide, we’ve explored a myriad of zooming techniques available on Mac, from the versatile Apple Magic Mouse to the intuitive trackpad gestures. We’ve delved into the specifics of one-finger tap gestures, Smart Zoom functionality, and the customizable accessibility features that make Mac a leader in user-friendly design. The keyboard shortcuts and in-app zoom sliders we’ve discussed provide additional layers of control, ensuring that every user can find a zooming method that suits their workflow and preferences.
Remember, the most efficient zooming technique is the one that feels most natural to you and causes the least strain over time. We encourage you to experiment with the various methods we’ve outlined, combining them as needed to create a zooming strategy that enhances your productivity and comfort. By mastering these zooming techniques, you’re not just improving your Mac skills – you’re taking a step towards a more ergonomic and enjoyable computing experience.
Frequently Asked Questions
How do I zoom with the Magic Mouse?
To zoom with the Magic Mouse, which doesn't have a scroll wheel, you can use the one-finger tap gesture or enable Smart Zoom. For the one-finger tap gesture, double-tap with a single finger on the mouse surface to toggle between zoomed and normal views. For Smart Zoom, enable the feature in System Preferences under the Mouse section, then double-tap with one finger to zoom in and out of specific content.
Can I use zooming features on my Mac?
Yes, you can use zooming features on your Mac by utilizing keyboard shortcuts and customizing zoom options in the Accessibility settings. To zoom in, press Option-Command-Equal Sign (=), and to zoom out, use Option-Command-Minus Sign (-). You can also enable and customize additional zoom options by navigating to Apple menu > System Settings > Accessibility > Zoom.
How do I enable Smart Zoom on my Magic Mouse?
To enable Smart Zoom on your Magic Mouse, go to System Preferences, then click on Mouse, and enable Smart Zoom. Once enabled, you can double-tap with one finger on the Magic Mouse to zoom in and out of content.
How can I customize the zoom options in accessibility features?
You can customize zoom options by going to Apple menu > System Settings > Accessibility > Zoom. From there, you can adjust settings such as maximum and minimum zoom levels, zoom style, keyboard shortcuts, and enable additional options like "Smooth images" or "Follow keyboard focus."
What are the different zoom styles available on Mac?
Mac offers three primary zoom styles to cater to different user preferences: Whole Screen zoom, Split Screen zoom, and Picture-in-Picture zoom. Whole Screen zoom magnifies the entire display, Split Screen zoom creates a magnified section alongside the standard view, and Picture-in-Picture zoom shows the zoomed area in a separate, movable window. These styles can be customized in the Accessibility settings under System Preferences.
Can I use trackpad gestures to zoom on my Mac?
Yes, you can use trackpad gestures to zoom on your Mac. The two-finger pinch gesture allows you to zoom in and out by spreading or pinching your fingers on the trackpad. Additionally, you can enable Smart Zoom in the Trackpad settings, which allows you to double-tap with two fingers to quickly zoom in on specific content and double-tap again to zoom out.


